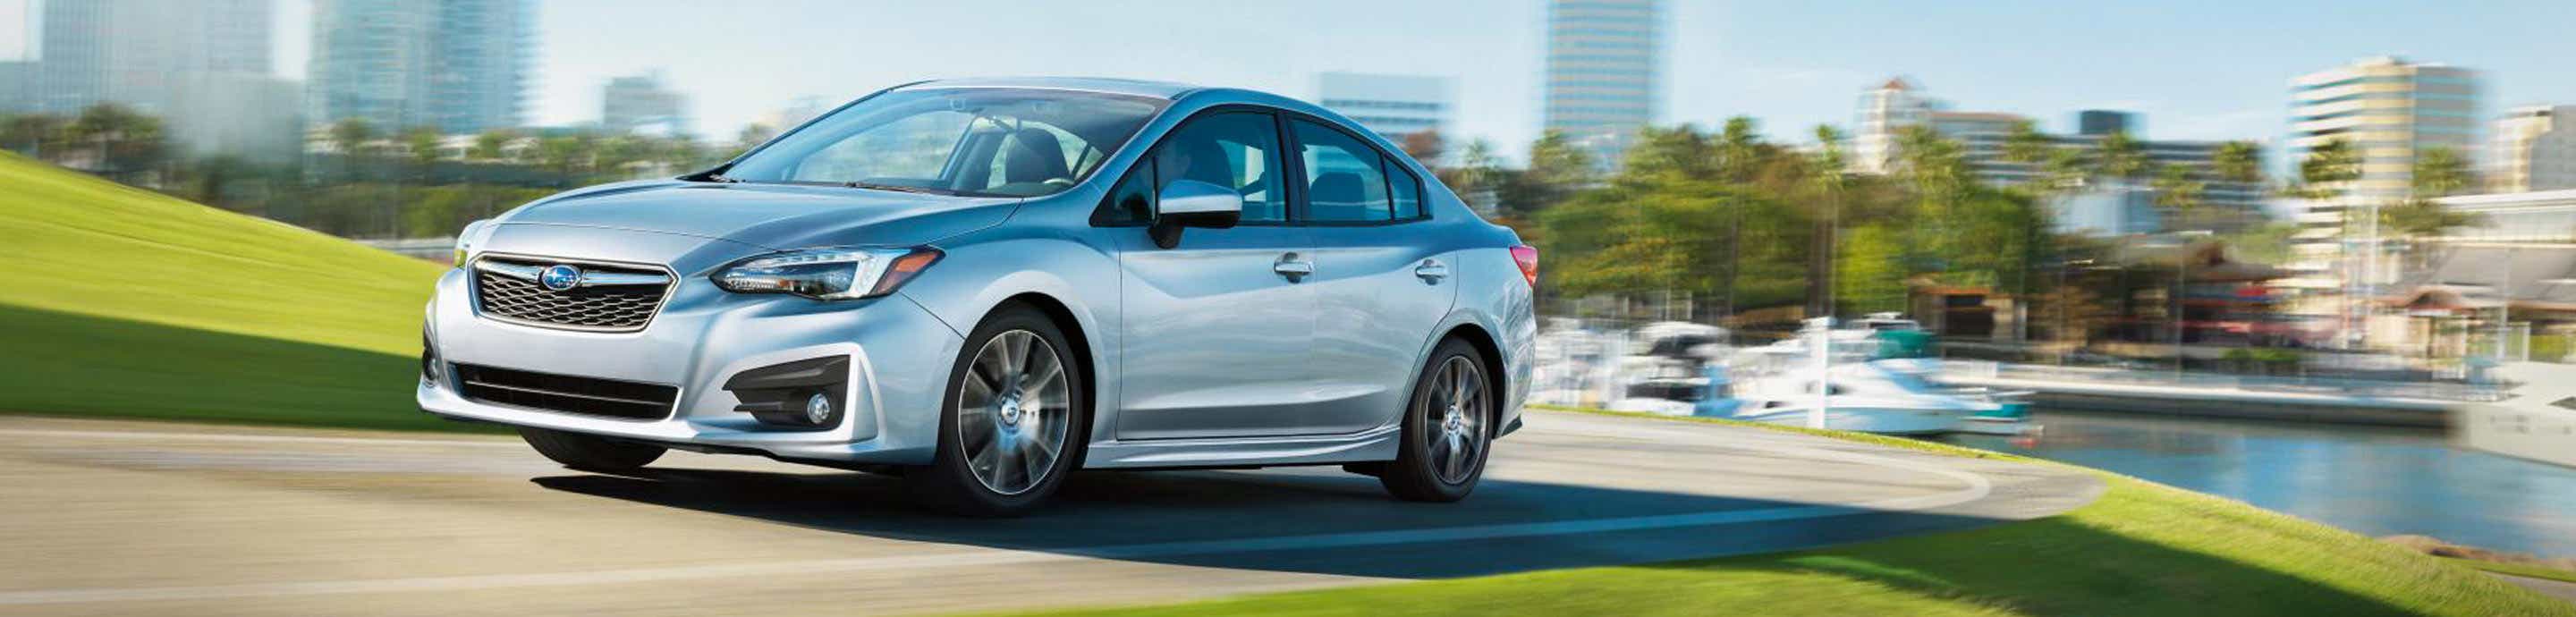
5th Gen Subaru Impreza Forum banner
21 - 40 of 53 Posts
I jumped on board this band wagon recently.

I was going to go with the BodyKits.com one Subaru Crosstrek STI Look Carbon Fiber Body Kit- Hood 115574 but after looking them up online there's a lot of bad reviews about their products, returns and refunds.

So then I tried Carbon Creations, (either the supplier or maker of the same hood) but they never returned phone calls or answered emails.
Not to mention the hood costs more than JSK's.

So moving onto JSK. I've emailed them about a dozen times about everything including the hood. Did a lot of homework about the company before pulling the trigger. A contact named Lucas has returned my emails usually the same day or next day depending on the time difference every time. Way better communication. If you look them up there's all kinds of social media listed on their business website (not Alibaba site) that you can scope out including a shop tour.

I had a little doubt at first. But the company looks legit. Subarus are small little toys compared to the high end cars they modify. Not as a small operation as I first thought them to be.

Anywho, just received another update the my hood is complete and they sent me a couple shots of it. Getting ready to be shipped.

The break down. No difference really in price from what others stated. The first quote to have it shipped via Sea Freight is as such: $510usd for the hood, $20 for wood packaging around the cardboard box (see photo), $550 for Sea Freight, and 2.9% for Alibaba's charge to use them, for a total of $1111.32usd. This option gets it to one of three locations across Canada of your choice. Vancouver, Toronto or Montreal. It goes to a warehouse there for you to pick up. Upon pickup there's a $150cdn charge to use that warehouse as a drop location (not sure if that includes customs charges). Neither city location worked for me so I opted out of this shipping option and went with DHL direct from JSK. With this choice, it'll go right to my house. So that cranked the cost to $1465usd. About the same cost difference as Sea Freight if I had to drive to a ferry, take a ferry off the island to Vancouver to pick it up and then return home. Also factoring in the $150 pick up fee. So it's basically even...for me, for where I live. But if you live closer to either of those three warehouse drop cities, then it'll work better gooder for you.

No big deal signing up with Alibaba either. That was my first buying experience there. No issues. Multiple ways to pay.

I didn't chat with JSK via Alibaba. I was emailing directly to their email from the website... info@jskracing.com. But they do list other chat options on their website under "Contact". Again, communication with them has been excellent. The way a business should be. On top of it.

I don't have the hood yet, So I cannot speak for anything more. Stay tuned. But if you're a fellow Canadian, these are some shared options for you with the prices, so you know what to expect thus far.

Kinda sucks that Asia has more available for our Imprezas than N.Amercia, and this is what we have to go through.

Image


Image


Image


Image


Image
 
Looks good! Sounds like you're on Victoria Island, beautiful place when I was there >10 years ago. Definitely let us know the shipping time and fit & finish once you get it installed.

Is the plan to paint it body color or keep the carbon fiber visible?
 
Yes I am, and yes it is. It's quickly becoming 'the place to be' to live and visit though. No such thing as safe havens and hidden gems. It's all being sniffed out by developers and buyers.

From the time payment was received with JSK, it was less than a week to have the hood built. Think it was 5 days to be exact. So not long...depending on what they have going on with other orders.

Will keep you appraised to the shipping time frame also, as well as an unboxing.

I will be painting most of it Island Blue Pearl to match the body, but have some ideas of leaving bare carbon around the entire scoop.
 
Hey 5Gener. Glad you're joining the STI hood posse. I ended up getting it painted to match my white pearl. Was a bit of shame since the carbon fiber looks pretty nice as it is but I'm going for the clean sleeper look. It took me a while to find a car paint shop that actually knows how to properly prep and paint carbon fiber. I would've wrapped it myself like evoheyax but I do not have that kind of skill.

Here are a few photos after the paint job. Sorry for the low lighting but in the sunlight, the paint matches perfect. I did request blending the fenders and it matches perfect.

Image


Image
 
One thing to consider if you are going to have it painted. The carbon fiber border with the scoop mesh was not fabricated perfectly so this border is jagged with carbon fibers sticking out. I did not appreciate the imperfections until after the paint job which really shows it well now. If I knew ahead of time, I would have asked the painters to smooth out the edge as a part of their prep before painting it.

Image


The mesh grill is also not easily removable. You cannot access it from under the hood. Also, the size of the scoop (bottom to top opening) is smaller compared to the wrx hoods but it is barely noticeable. Otherwise, I'm very happy with the hood overall. Post some pics when you have it on your ride!
 
I was at that cross road of deciding whether to paint the entire hood or leave some exposed carbon.
But not saying that it doesn’t look good painted. Definitely gives your car that right added touch either way. I haven’t totally discarded full paint though. I’ll have to make up my mind soon. Maybe play around with some computer images with it fully painted and another with just the scoop exposed.
If I do leave anything exposed, I think I’ll leave the scoop unpainted. The top, and the side tapered strakes.
I see now what you are talking about and mentioned before regarding the unfinished edge along the front of the scoop opening. I think I’m going to leave that front portion unpainted as well. That little narrow strip that looks separate from the rest that’s along the front of the scoop mesh. If mine is as rough like yours maybe I’ll take a Dremel to it to smooth it out. But thanks for pointing that out.
What kind of prep work outside of any other prep for composite material are you referring to before having it painted? Never been down this road, so I just assume that it might just need a light sanding, prime, paint, and clear.
 
Well, just an update and an unboxing. Hood arrived and thankfully without issue. There was an option from JSK to pay an extra $20usd for some wooden protection to the package, agreed upon prior to payment. I thought that I was going to get a cardboard box with some wooden slats like shown in the photo provided earlier, but what I got was a good surprise. It was a full crate made of thin plywood. And good thing too, as it took a hit somewhere along the journey. There was a bit of a punch through, but the wood fibers held together enough to keep from punching through too much and damaging the hood's exterior carbon skin. Had I not sprung for the wood packaging option, I'd more than likely would be dealing with a damage claim, as cardboard wouldn't have stood up to that impact without damage to the hood. So I would recommend this option to anyone looking at going down this road. Worth it just from this experience as it does travel a long way and exchanges enough hands. They do send details to deal with damage claims though, so you at least know what to do and don't get left screwed over.
The hood was also double wrapped in bubble wrap and some foam wrap, which helped saving it from damage.

I haven't test fitted it yet, but will get to it sometime soon prior to having it sent for paint.

I'm going string up some rope to a hook-style luggage scale to weigh the stock hood and this one, after I remove the stock one and the hardware (latch and hinges), and will report the comparison findings once I get it.

Like mentioned earlier, it is compromised of two different composites. Carbon fiber exterior, and whatever it is on the interior. It does seem sturdy though.

The hood scoop is actually functional, via the ducting holes cut out on the under side of the hood, and through the scoop.

The outer scoop opening cleanup was better on mine than what WANHAM reported previously. There are minor little imperfection peaks along the edge where the mesh is. But I think I can level those out easily enough with a Dremel, file or maybe a utility knife. For the most part is was a good enough clean edge. But I plan to leave this bare carbon anyways, so it won't be noticeable anyways I think.

All in all, I am satisfied with the quality, speed of shipment from China to Canada, and getting it in one piece. Outside of that, impressed with the level of communication and speed of replies from the company.

One step closer.

Image


Image


Image


Image


Image


Image


Image
 
Forgot to add the shipping time frame. It left JSK on Nov.28 and arrived on Dec.6. So 8 days to get from China right to my door in Western Canada. Now again, that's shipping direct with DHL. If you choose the Sea Freight option, that may differ.

So all together it was 5 days to have them make the hood after receiving payment, a couple days to prep for shipping and show me the result and ask for my approval, and 8 days to have it shipped. So just over 2 weeks in total for it all. I'd say pretty decent lead time. Less than others have reported.
 
  • Like
Reactions: MagikAram
Forgot to add the shipping time frame. It left JSK on Nov.28 and arrived on Dec.6. So 8 days to get from China right to my door in Western Canada. Now again, that's shipping direct with DHL. If you choose the Sea Freight option, that may differ.

So all together it was 5 days to have them make the hood after receiving payment, a couple days to prep for shipping and show me the result and ask for my approval, and 8 days to have it shipped. So just over 2 weeks in total for it all. I'd say pretty decent lead time. Less than others have reported.

I’m curious what all is involved from unboxing on.. is it just a matter of painting if desired, then bolting it to your existing hinges and good to go? Or is further modification on car or hood needed? I am in the U.S., what would be my best bet in contacting them to get one here? Whats the total out of pocket to get to this point? Idk if I want to pony up the money for it yet, but it’s definitely tempting…have wanted exactly this (painted pearl white) since buying the car, but just haven’t seen much out there for options.
 
One thing to consider if you are going to have it painted. The carbon fiber border with the scoop mesh was not fabricated perfectly so this border is jagged with carbon fibers sticking out. I did not appreciate the imperfections until after the paint job which really shows it well now. If I knew ahead of time, I would have asked the painters to smooth out the edge as a part of their prep before painting it.

View attachment 31240

The mesh grill is also not easily removable. You cannot access it from under the hood. Also, the size of the scoop (bottom to top opening) is smaller compared to the wrx hoods but it is barely noticeable. Otherwise, I'm very happy with the hood overall. Post some pics when you have it on your ride!

If the edge of the paint bothers you enough to want to try again, I’d be interested in buying yours as is, for the right price, if you can get it to Wisconsin…
 
I’m curious what all is involved from unboxing on.. is it just a matter of painting if desired, then bolting it to your existing hinges and good to go? Or is further modification on car or hood needed? I am in the U.S., what would be my best bet in contacting them to get one here? Whats the total out of pocket to get to this point? Idk if I want to pony up the money for it yet, but it’s definitely tempting…have wanted exactly this (painted pearl white) since buying the car, but just haven’t seen much out there for options.
A lot of your questions can be found within this entire thread from others and myself.

Paint if desired. No modifications needed to fit. Comes pre-drilled with holes for latch and hinges. Swap out the hoods. Good to go.

Like mentioned before, you can purchase additional hood struts for extra support and to lift the hood via the struts instead of manually lifting.

Like I mentioned before, I contacted them using their email listed on their site. But you can use Alibaba’s site to chat with them or they have other chat platforms like WhatsApp, etc listed on their website directly under the Contact link. They are very quick to reply.

I did a cost break down in previous posts as well. Have a gander

Have a look at all the other posts within this thread topic, and if you have any further questions, I’m sure we’d be glad to assist.
Ha! Totally missed that; I thought this was a different original post these comments were on. I’m caught up now!
 
Alright, time for the next update. By the looks and sounds of it, nobody else had this problem. I'm the UNlucky one I guess. When I went to test fit the hood, the holes for the hinges didn't line up. They are spaced too far apart. One lined up but the second one didn't, on each side for each hinge. Not sure if other model years have a different hole placement for the hinge holes, or if JSK just screwed it up when drilling them. I have a 2017, so I'm not sure how the other model years compare. See the photos.
The first photo is a pic of the passenger side, but the rest are the driver side. Don't ask. But it shows the issue. Once I put the bolt into the rear hole of the hinge (closest to the windshield), the front hole didn't line up and was too far out, on both sides of the hood for each hinge. So after swearing for a bit, I thought about putting on a plate and drilling it out where that off-placed hole was. First though, I had to take off that top corner of the hinge that partly covers that off-placed hole. So I took an angle grinder to it and notched it out to reveal the entire hole below the hinge. When doing this, I covered the exposed open engine bay over with some extra coveralls so as not to send sparks down into the engine bay possibly causing a fire. Gave that ground surface of the hinge a dab of touch up paint to seal it to prevent rusting. After drilling out the plate to match up to the holes, I painted the plate. From there placed the plate over top of the hinge end and plugged the bolts through with washers. I placed a plastic washer spacer in behind the plate of the hole that was misaligned, to be able to take up the space and gap. With the plate in place it pushes against the hinge below snugging it up against the hood, and still able to have that support of two bolts per side. Ta da. Problem fixed without having to send it back.
I did notify JSK and are currently figuring it out what happened. I gave up waiting for them to take responsibility and do something. The only other fix would be to send the hood back and get another. I could have played dumb like I don't know how to come up with a solution, and came across like I didn't want to be bothered having to fix it myself and demanded a new hood. Whatever you want to do is up to you. If you want to stand your ground and demand a new hood, give 'er. For me this was a quick enough solution and easier then dealing with sending it back. Even though it was an inconvenience and added more cost with extra hardware and time,...oh well. Crap happens. At the end, I have achieved the look I want, and it works,...with a slight modification. So if you order this hood, and get the same issue, this is one way to fix it. If you get lucky like others did, then you just have to carry on without all of these extra steps.

Before all of this started, I found that I was questioning what bolts to use to attach the hood. JSK bolts on two pieces of wood strips to the hinge holes on the hood for shipping and standing the hood up so that it isn't resting on the corners of the hood when standing up, before you actually attach it to the car. See previous unboxing photos that show the wood strips attached. They attached those strips with two bots on each side, into the hinge holes that have threaded inserts inside the hood. Those bolts work to attach the hood to the car after and are the same size to attach the hood latch as well. BUT, there's only 4 bolts. They didn't include extra. In total you'll need 4 for both hinges and 2 for the hood latch. All the same size. So, you can either ask them to send you enough bolts for everything when ordering the hood, or jam down to the nearest hardware store and get your own. I attached a photo of the two packages of metric bolts that I picked up, in order to get 6 of them. Worked perfectly for the hinges and the latch. And they're zinc plated. Paint if desired, but shouldn't rust on their own. Also already had stainless washers to use with the bolts. Not sure of the maximum length that you could use. I wouldn't try longer than that, as it may start to poke into the outer carbon skin. Anyways, before you get started test fitting, get out and get some bolts so that you're ready to do it all in one shot.

In all, it didn't take much to do or many tools. If you don't have the tools, see if you can borrow some. If you're not feeling confident, pass this onto someone that is more mechanically inclined. I don't consider myself a mechanic or a MacGyver. But this one was easy enough and I have the tools.

Good luck.

Image


Image


Image


Image


Image


Image
 
So after all of that mess, this is the result. The fitment isn't perfect. But with most aftermarket body panels, you pretty much have to always expect them not to fit perfectly. The gaps around the hood (sides and front) are a smidge off in places, but fairly decent overall. I tweaked it as much as I felt like. I think it's good where it lies now. The adjustments can be made by lossening the bolts and shifting the hood in either direction and then tightening it down. I did the work myself from start to finish with the occasional help from my wife to hold it in place. So having someone else nearby would help with certain stages.

I purchased RedLineTuning's hood struts and installed them for added support to remedy the shimmy situation that others have reported. Zoom in on the fourth photo to see struts. I haven't road tested it yet. The struts take place of the hood prop also, by raising the hood and keeping it in place on their own. Easy install for those. The kit comes with very detailed instructions with lots of photos in it. Although, I had to adjust the placement of the brackets at both the top and bottom end a bit due to where the bracket on the underside of the hood goes. With the stock hood it will go where the instructions say to place it. But the JSK hood has a groove/channel that goes across area that doesn't make for a good solid point to rivet the bracket down into. So I shuffled it downward a bit. Then matched that shuffled amount to the bottom bracket location by moving it outward as well so as to have the strut reach properly top to bottom.

Image


Image


Image


Image


Image


Image


Image
 
  • Like
Reactions: MagikAram
Nice fix! I would've drilled out the correct hole, and then tried Riv-nuts to mount the hinge, but I'm actually thinking your fix is more solid.
 
owns 2024 Subaru WRX Limited
And lastly, for those (including myself) that wanted to know what the weight comparison is between the hoods, the photos don't lie. I used a luggage hook-style scale. How accurate this thing is is unknown. But even if it's off, I used the same scale to weigh each hood at the same hood latch bolt hole point to hold it up. So it'll at least show the difference in weight.

As you can see by the photos, the stock hood comes in at a scant 17lbs. Now this is the shocker. For those (again...including me) that thought a carbon hood would be lighter, we are all wrong. Had this hood been made totally of carbon, it may have been lighter or at least the same weight of the stock hood. But the exterior is carbon, and the inner is some other plastic composite, which is probably where the a lot of the added weight is. The JSK hood weighed in at a portly 21.5lbs. So 4.5lbs difference over stock. I had both hoods stripped of everything. Took the hood latch off of the stock hood, no hinges and took off the heat shield so all of that wouldn't compromise the comparison. I wouldn't have thought that would be the case. The stock hood is really light to hold. It feels like it's made of tin. Super lightweight. They don't make hoods like they used to. I've done enough body work and changed out hoods with other vehicles and this stock hood is one of the lightest I've held.

But in the end, I didn't get this JSK hood to help out with my 0-60 times. The car's engine is doomed for anything good for power, or acceleration. I got it for cosmetic reasons. Lighter weight would have been a bonus. A little let down in that area. But oh well. Still looks sportier/cooler now then stock.

It'll be awhile before the next update of when I have it painted. I've settled with leaving the entire scoop (above, sides and the narrow strip in front of the mesh) left as exposed carbon, and paint the remainder around it body colour. Stay tuned. It'll be awhile as body shops are busy with weather related accidents and such right now.

I'm on the fence about putting the heat shield onto the JSK hood that I took off the stock one. There's no holes to accommodate it. I'd have to drill out holes for that, which isn't a big deal. Would say that holding it in place with tape to find the right spot would be good. Then take a contrasting colour marker and jab it into the retainer clip holes of the heat shield to mark the hood as to where to drill the holes. I wrecked all of the stock retainer clips that help that heat shield onto the stock hood. I have some other styled retainer clips. I can see if those work, or I'll have to order those stock larger head retainer clips. I'm sure that would be a costly option as they'd be a dealer-direct purchase. Also, the heat shield would cover the openings under the hood that feed air from the scoop. It would block that channelling. So it would defeat the purpose of having some extra air flow.

One other thing. I washed the car after installing the hood. Was amazed at how much water this thing holds. After washing, I lifted the hood up and it all came gushing out the underside hood scoop openings and from two drainage holes on the underside of the hood close to each corner under the windshield, by the hinges. Quite a lot of it. So one thing to remember. After washing the car or driving in a lot of rain, lift the hood after to drain it all out. I may pop in some holes on the underside towards the front of the hood, above the grill area, or at the front corners for gravity-fed drainage so I don't have to lift the hood each time I come across water in some form or another.

Cheers

Image


Image
 
Thanks MagikAram. I'm sure that there are other way to make it work. This just happened to be mine. Not sure what's inside the hood to hold rivnuts in place though, where that empty hinges hole area is. I'll see over time how this way works. But I think it'll hold. There's no way it could slip out or anything. And is applying enough pressure to hold it.

The threaded inserts felt good. It was reported previously that it would be easy to strip them out. But I reefed on all of the bolts for the hinges and hood latch, and didn't strip out any of them. So they may have done some retooling of the design to be able to allow a secure fit. But I wouldn't go testing that too much. I used a hand ratchet. I wouldn't recommend using an impact drill/gun, as it may apply too much torque and take away from that feeling that you get with hand tools. With hand tools, you can feel what the bolt is doing and how much is too much for the most part.

Hopefully anyone that orders this hood doesn't have to deal with this. But this is my experience and solution.
 
  • Like
Reactions: MagikAram
I finally got around to road testing the car with the hood on. I then realized that maybe I should have done that before installing the hood struts from RedLine Tuning to see if there was any shaking of the hood like previously mentioned by others with this hood and the Carbon Creations hood.

I can say that with the RedLine struts, there is no shaking. The hood is latched solid. I had the wife drive and me riding shotgun so I can watch the hood. The surface has a VERY very minor shimmer at speed. But it’s just the surface. I watched the edges and there’s no movement. So it could be just the wind hitting the surface that causes that mild shimmer. It’s barely noticeable. You have to really watch it. It could also be due to the air being shoved through the hood scoop and creating a vortex of air below on the underside as it goes through the channel and out the openings below.

Either way the hood is solid. Took it up to 130km/h (80mph) and it doesn’t do anything funky. Not sure if it’s due to the extra support from the aftermarket hood struts. But so far it’s working fine.
 
On another note, for those that have this hood, can you confirm the hinge hole spacing on your car and the model year of it? Mine is a 2017. Wondering if there is a difference in spacing between hinge bolt holes. I attached two photos. First photo is of the factory hinge bolts and the other photo is of the JSK hood hole and threaded insert placement measurement. Just wondering if they have two or more jigs for hole placement for different model years, or if they just pooched it by placing the holes and inserts in the wrong spot.

Image


Image


Thanks in advance for any insight. Trying to get to the bottom of the problem with JSK while the talks continue as to what happened and what they're going to do about it.
 
Nice job, 5Gener. Looks great! I would have been pretty upset about the hinge holes not lining up. I have a 2023 sport and the latch holes lined up just fine. I will measure the distance between the holes soon and let you know. Car is in the shop. I had to buy some more bolts like you did since they don't provide extra. I also bought the Redline hood struts but have yet to install them.

I transferred the stock heat shield using the stock grommets like Evoheyax by just drilling holes on the under side of the hood. My scoop air flow goes through 2 small holes near the back of the hood. The holes look like they were made to accommodate windshield wiper fluid jets that you transfer over from your old hood, however our cars are located at the base of the windshield and does not need to moved at all.

Whiteclaw, I spent too much money and time getting my hood the way I like it to sell. Sorry bro! I am considering getting the hood wrapped with Xpel PPF to protect the paint vs ceramic coating just the hood. I've become obsessed with modding this car for the past year but it brings me so much joy as a hobby. Just got some new rims which I will post soon on the wheels forum. Keep us posted with updates and pics, guys!
 
21 - 40 of 53 Posts